
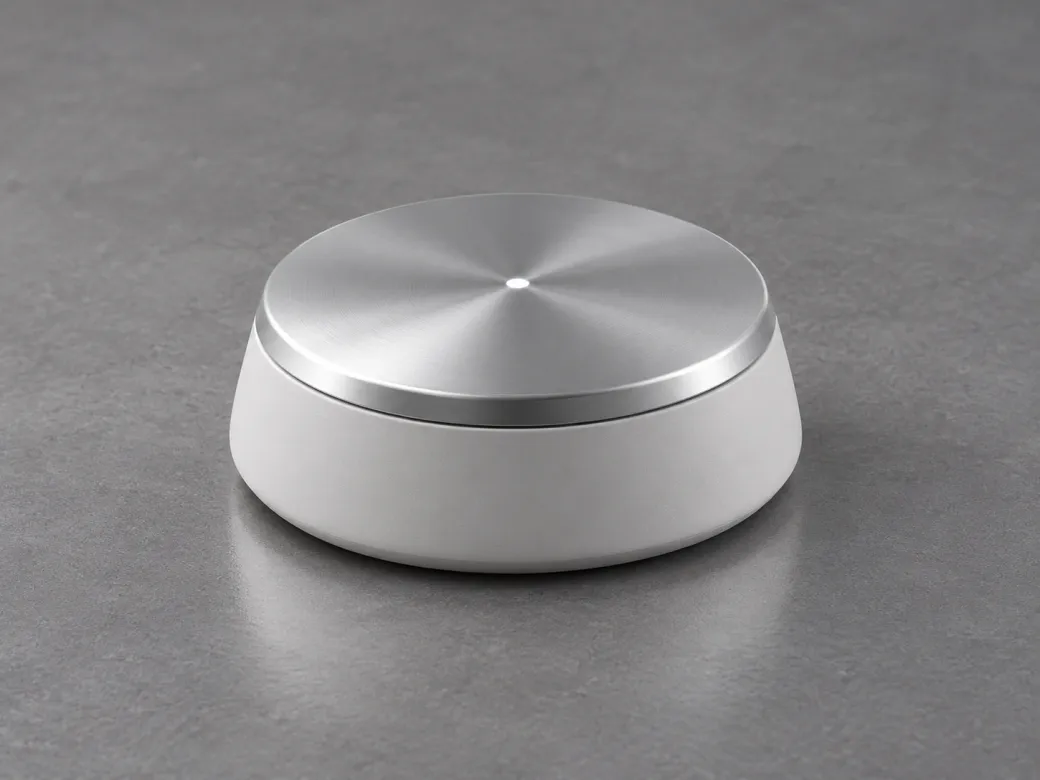
Round lid control unit
Assess a round lid’s rim and fit with a printed resin insert concept. Compare resin, mold support and trial criteria before selecting a tooling route.
Browse ten tooling and sample concepts for printed inserts, molded fit, surface finish and transfer to production. See the checks to include in each RFQ.

Assess a round lid’s rim and fit with a printed resin insert concept. Compare resin, mold support and trial criteria before selecting a tooling route.
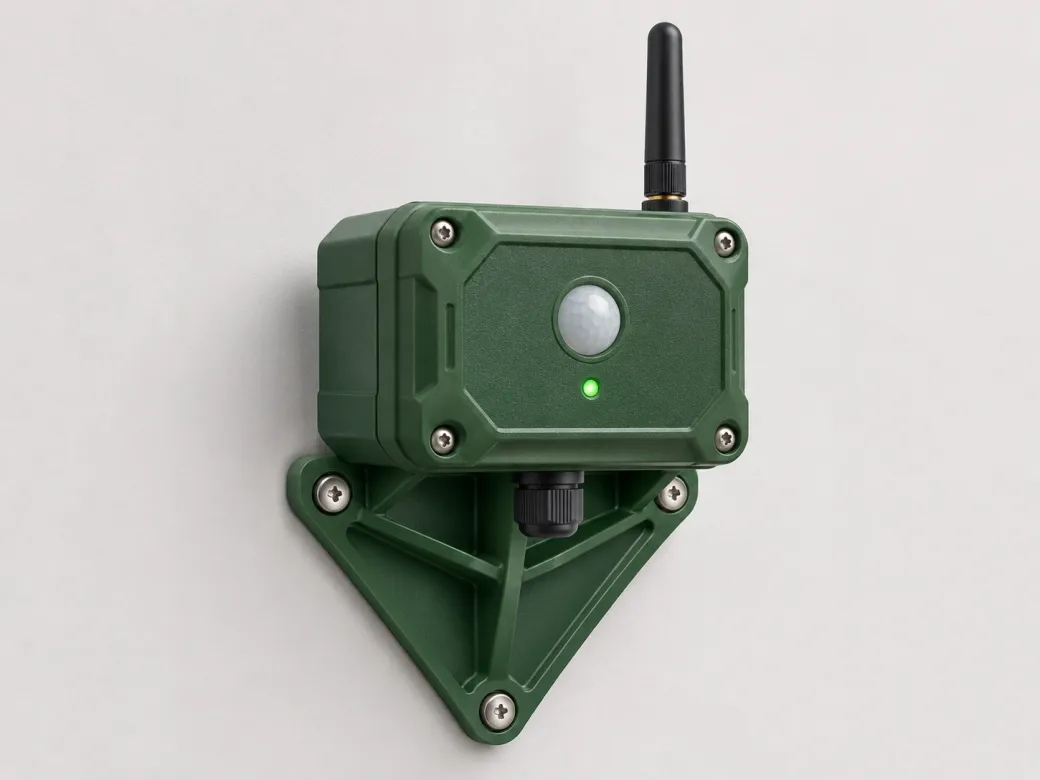
Scope a prototype mold for a ribbed mounting bracket by checking hole locations, mounting flatness and the resin before the first trial.
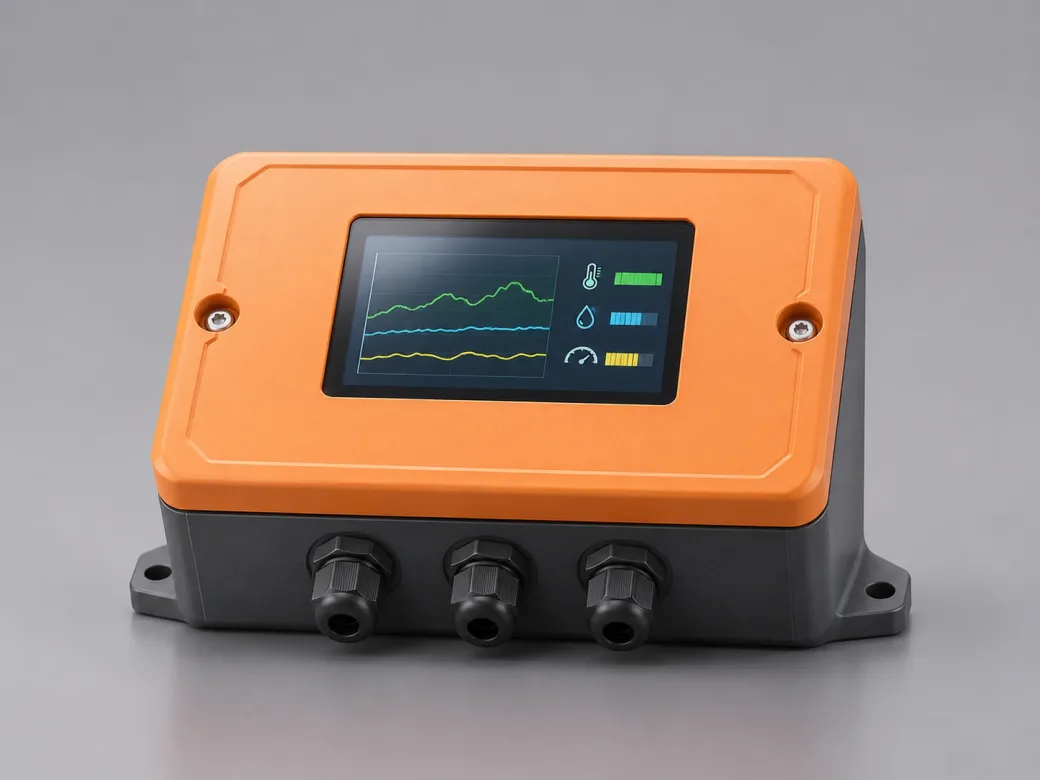
Plan the first molded enclosure check around lid seating, screw-boss alignment and the joint gap with the actual mating cover.
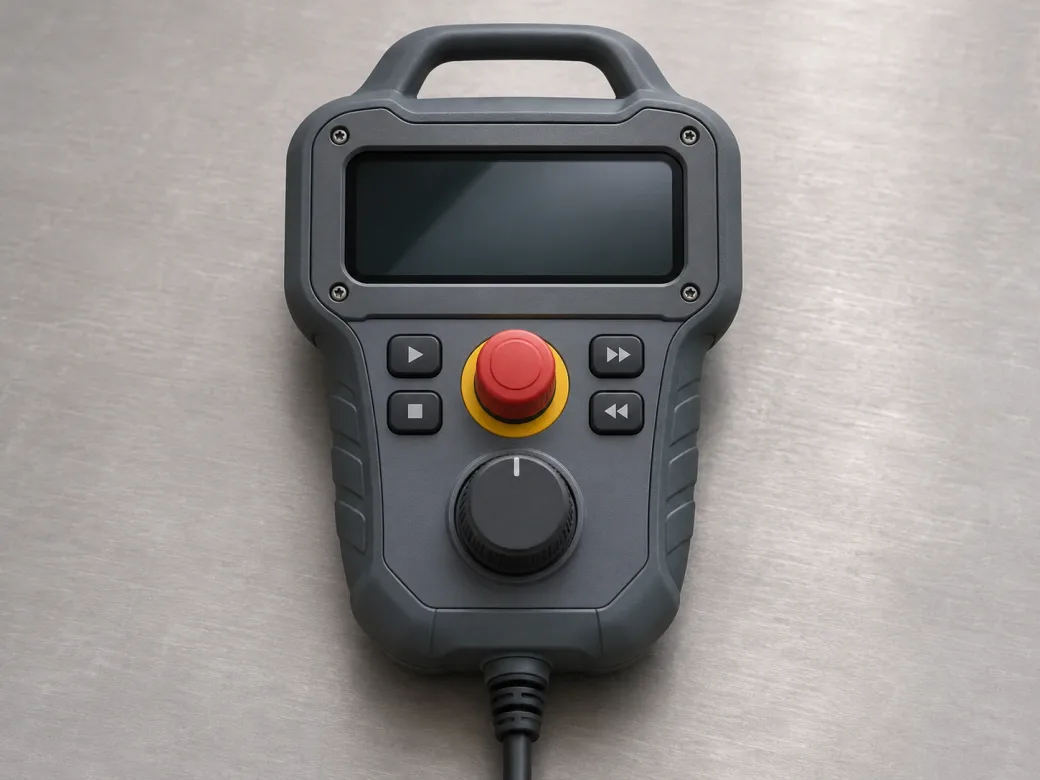
Compare an oblong and rectangular opening in a common bezel design, with the visible joint and part alignment reviewed before machining.
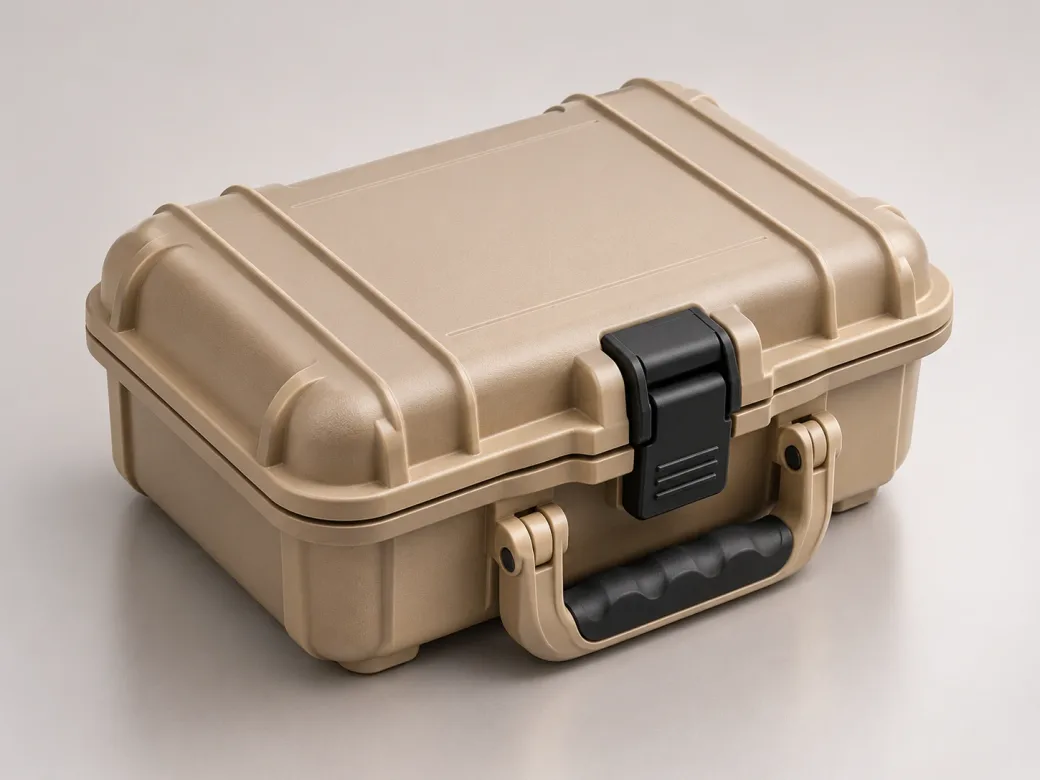
Review a molded latch against its strike, checking travel, engagement and release using the target resin and an agreed assembly method.
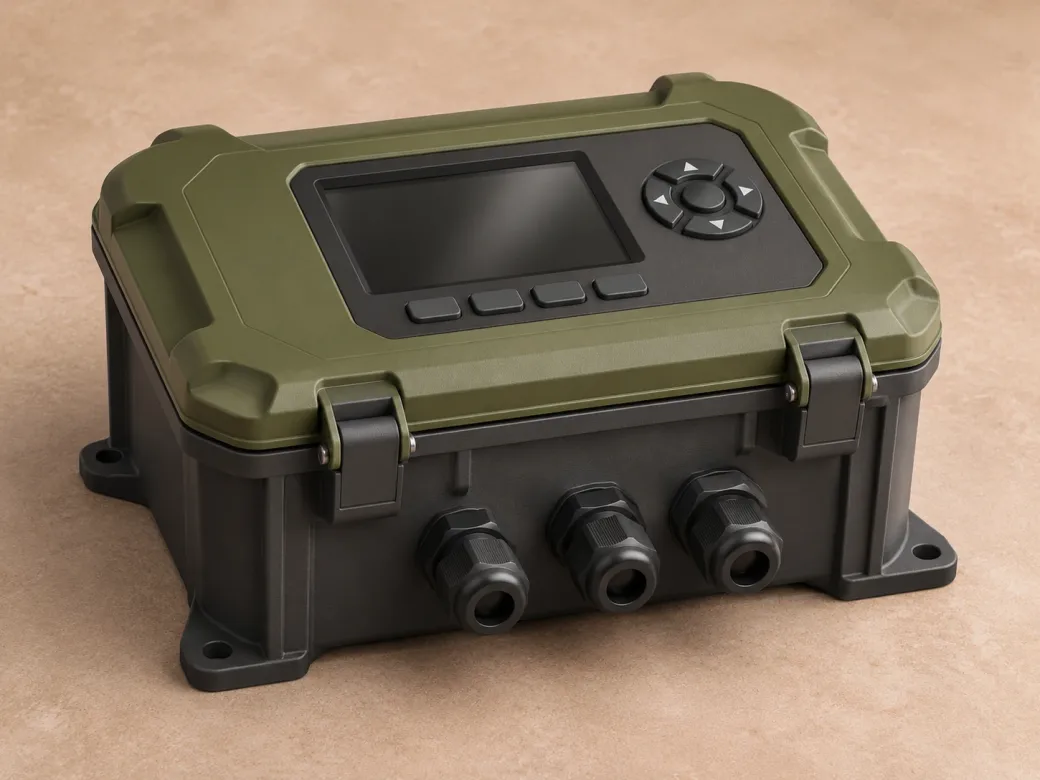
Prepare a pilot-to-production handoff around the enclosure, gasket interface, hardware revision and agreed inspection points.
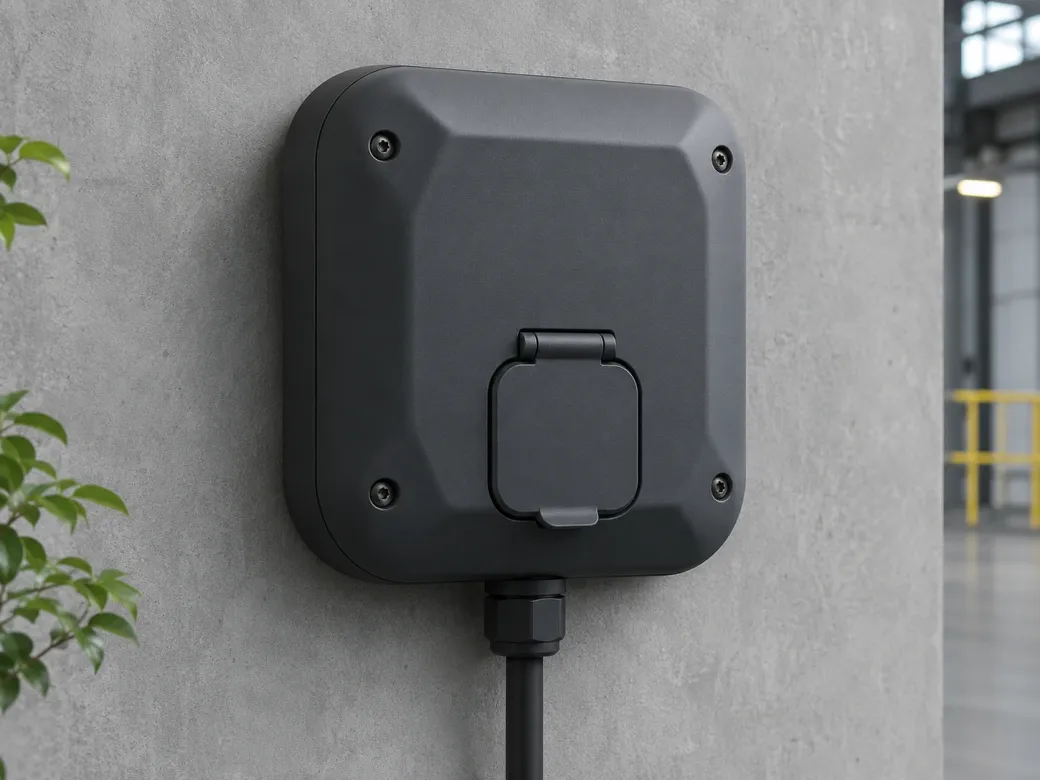
Mark the load-bearing ribs, screw-boss holes and visible outer panels on an enclosure before injection mold design.
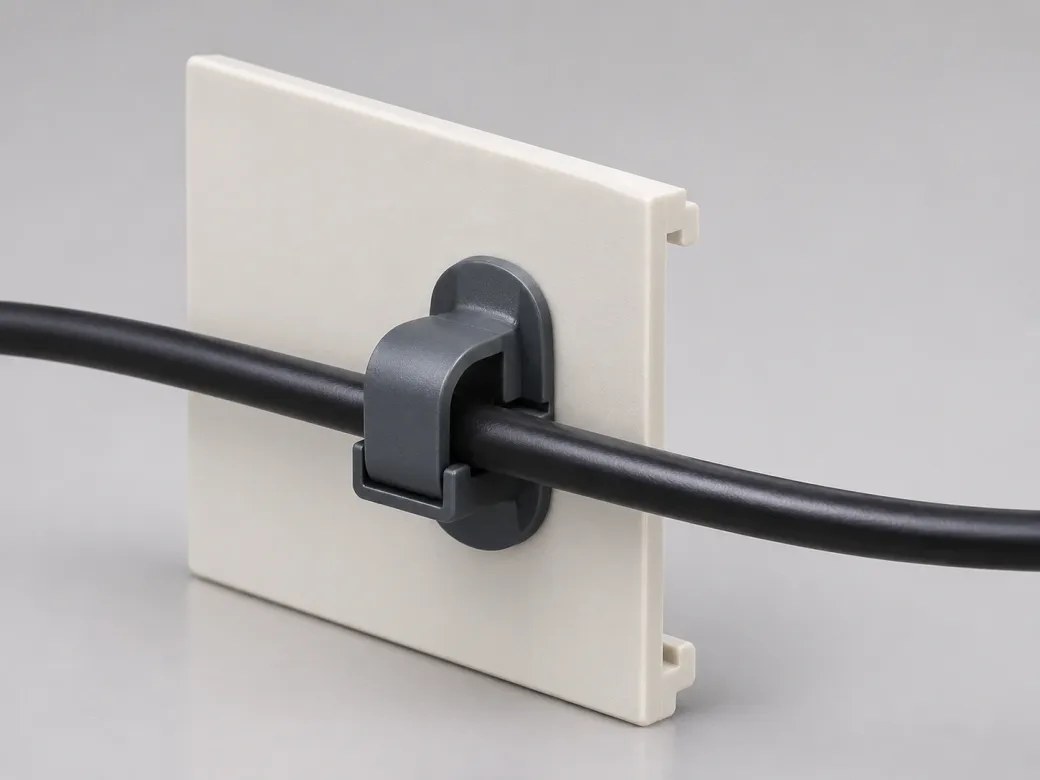
Assess how a barbed snap clip assembles and releases from a mold, with the hook, retention feature and mating hole marked.
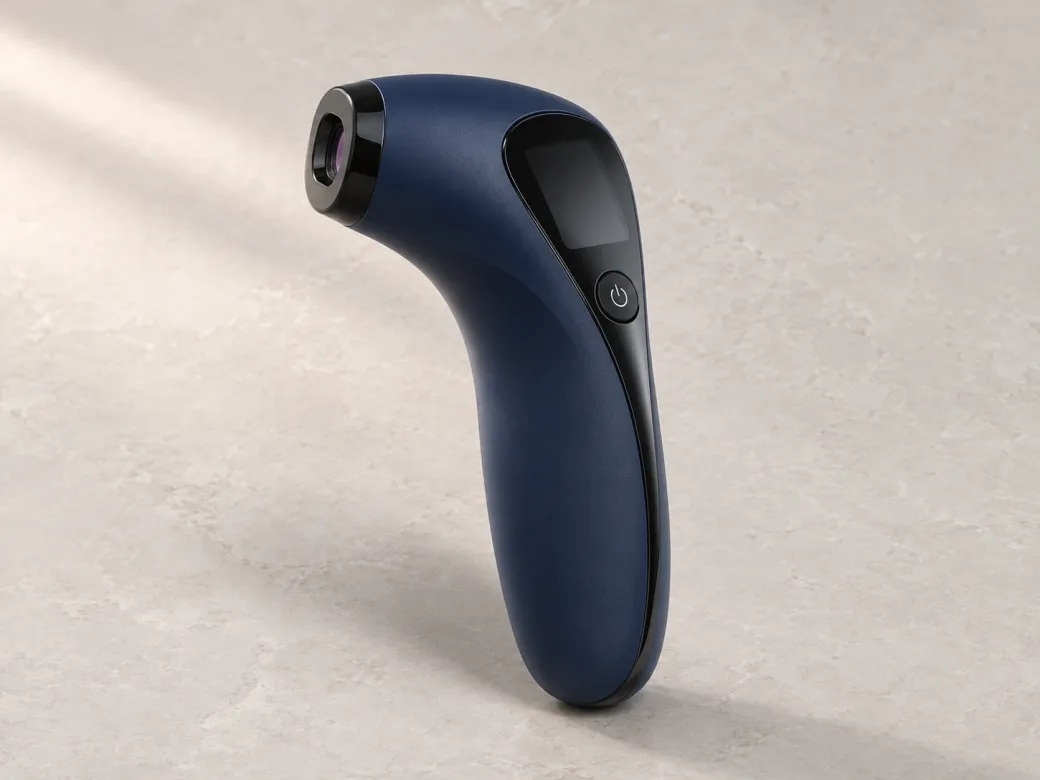
Compare matte and gloss on curved molded plaques under agreed light, viewing angle and resin before choosing the production finish.

Compare translucent color samples with matched thickness, backing and illumination, then confirm the appearance on the intended part.
Review the design, sample a molded part or plan the transfer to production.
Mark the key geometry and decide which local features may need their own mold insert.
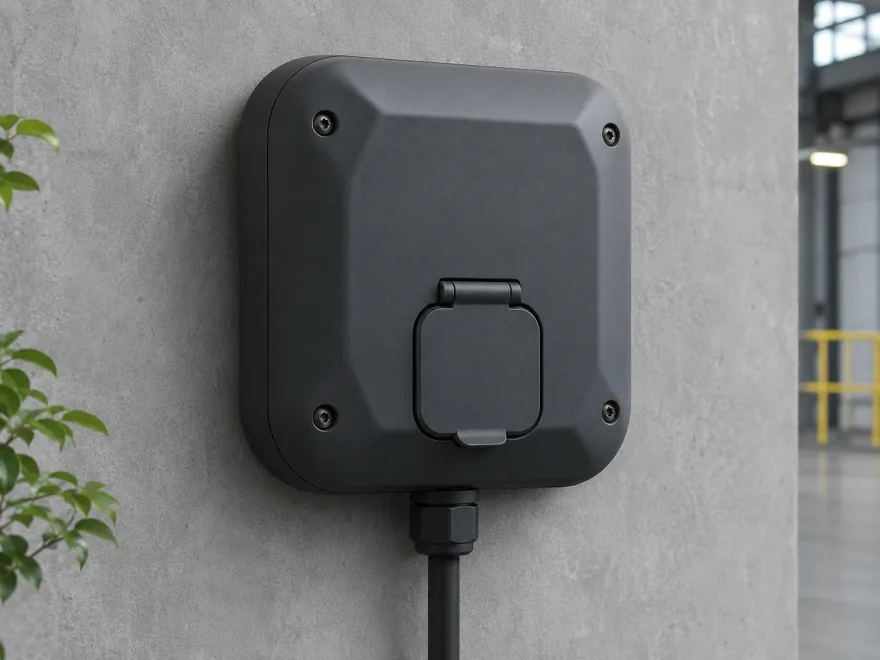
AI application illustration
Flag molding-sensitive geometry before the tool is made, including ribs, bosses, snap fits and surfaces that must stay clean.
See details →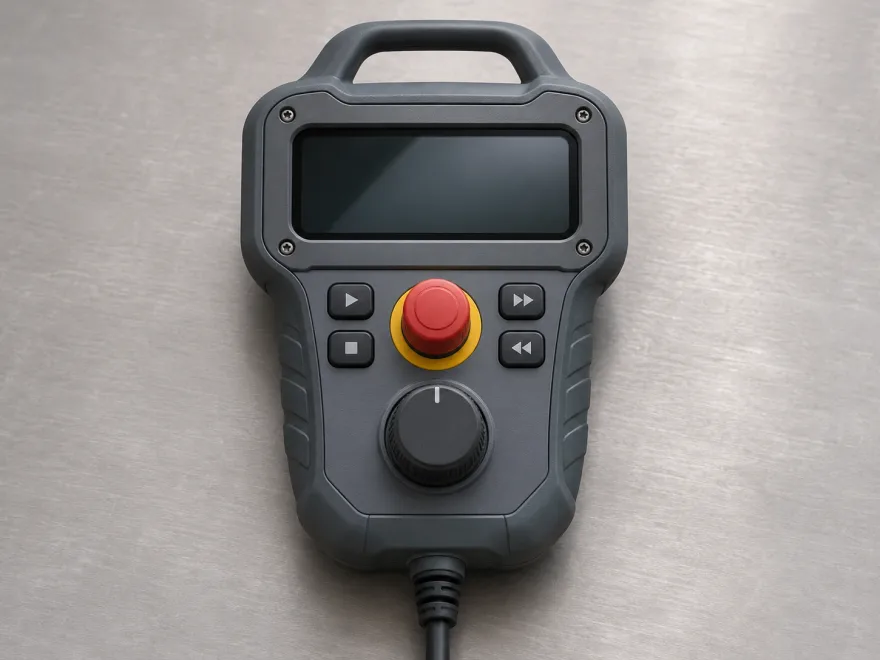
AI application illustration
Identify the local feature that changes and the part surfaces that must stay the same before deciding whether an interchangeable insert is suitable.
See details →Define the prototype tool and check first parts against the mating components.
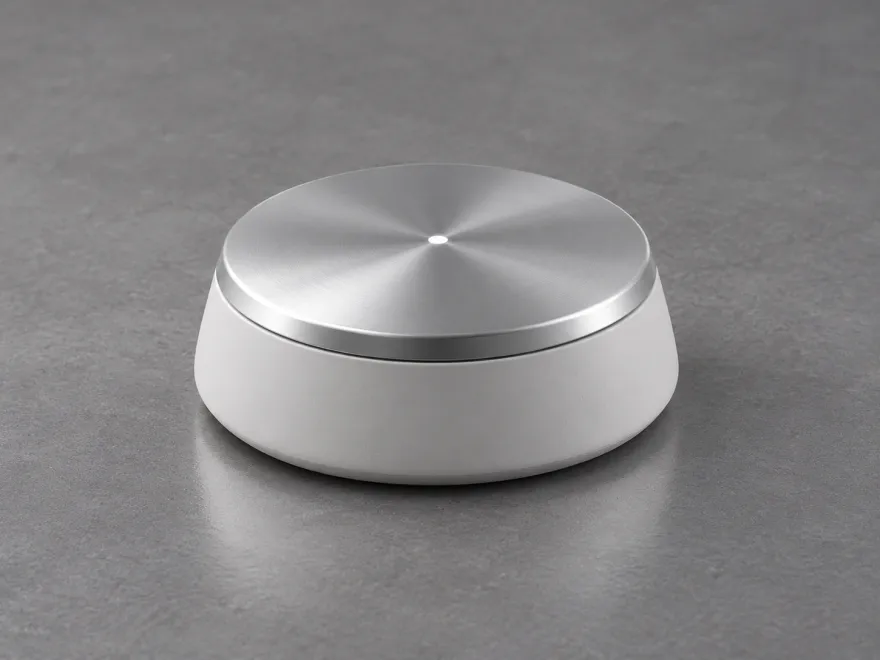
AI application illustration
Start with the test your sample has to pass. Scope the prototype mold around resin, part geometry and the parts it must fit.
See details →
AI application illustration
Tie the first parts to a drawing revision and resin so the team can record fit, appearance and critical dimensions before changing the tool.
See details →Keep the finish standard, revision history and acceptance checks together for handoff.
AI application illustration
Set up a repeatable comparison of color, texture and gloss for the resin and visible part surfaces your design uses.
See details →
AI application illustration
Transfer the accepted part, drawing revision and trial records together to prepare the next tooling or production decision.
See details →State the part revision, target resin, expected sample quantity and which features the first shot needs to prove.